Implementing federated security in EPiServer using Auth0
Feb 16, 2015
 This post describes how to allow federated security in EPiServer using Auth0. Auth0 is an identity broker that's extensible, enterprise class and reduces the friction between identity infrastructure and developers. I'm not affiliated with Auth0 in any way so this post is written from my own (admittedly very good) experience with Auth0. The post contains a number of step by step instructions and is intended to be an example on how to use Auth0 with EPiServer. The original demo was presented in November 2014 at the EPiServer UK customer and partner day.
Prerequisites
a. You should start with a default Alloy site, with the latest Nuget packages applied:
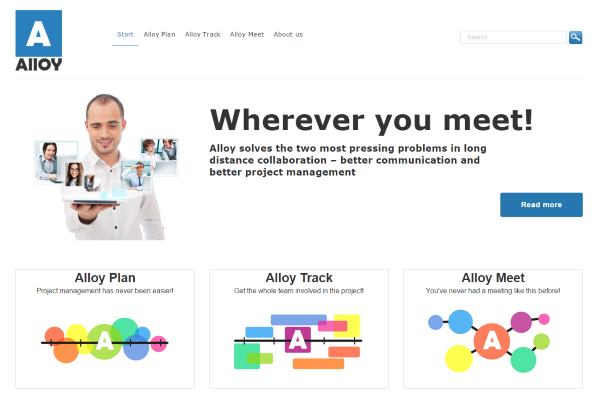
b. For test purposes later you should change the "Alloy meet" access rights to only allow users in the Authenticated and ensure you remove the Everyone role.
Configuring EPiServer to enable federated security
1. First up make changes to the application to enable federated security as described in the following EPiServer article: http://world.episerver.com/documentation/Items/Developers-Guide/EPiServer-CMS/75/Security/federated-security/
2. Populate the realm for your site, the URL of the site is a potential choice:

Next up we need to configure Auth0.
Configuring Auth0 to use with EPiServer
3. Create an account and log into Auth0.
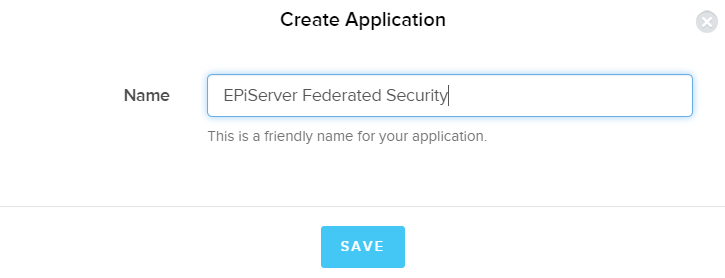
4. In the Apps / APIs section create a new application and name it appropriately:
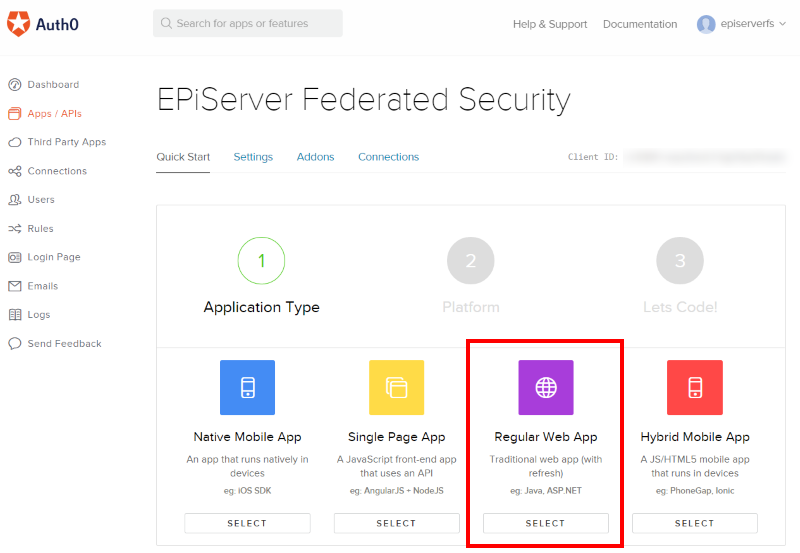
5. Select regular Web App:
6. Pick ASP.net when creating your app:
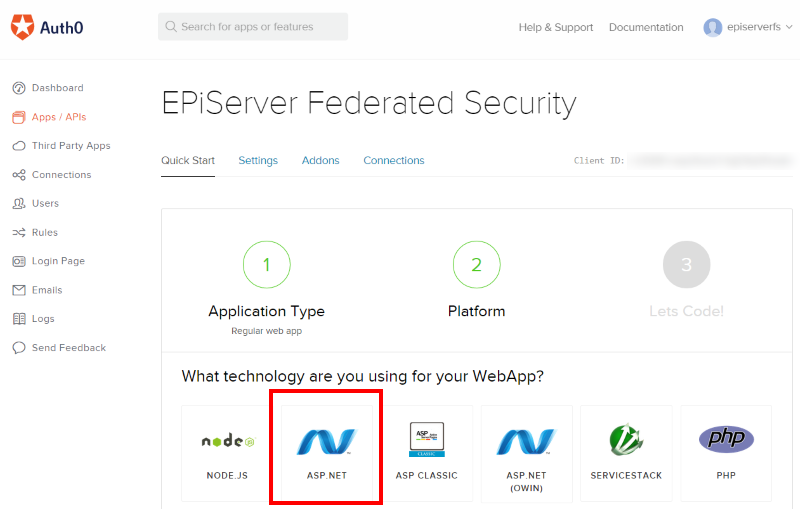
7. You can ignore the Step 3. "Let's code!" call to action
Now the application is created there are some other steps required to allow it to be used for federated security in EPiServer.
8. Go back tp Apps / APIs section and find the application you just created and click on it:
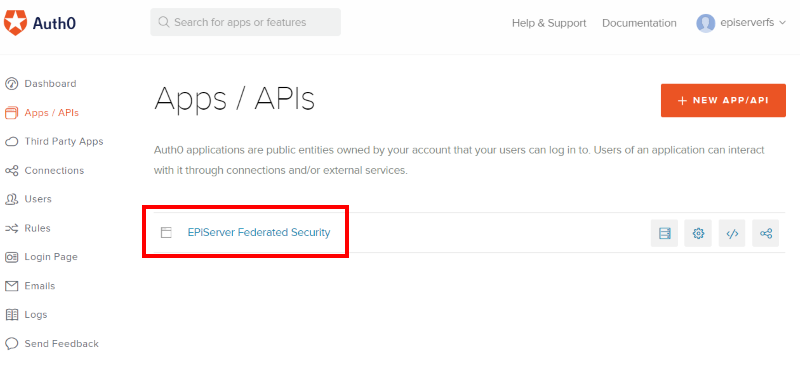
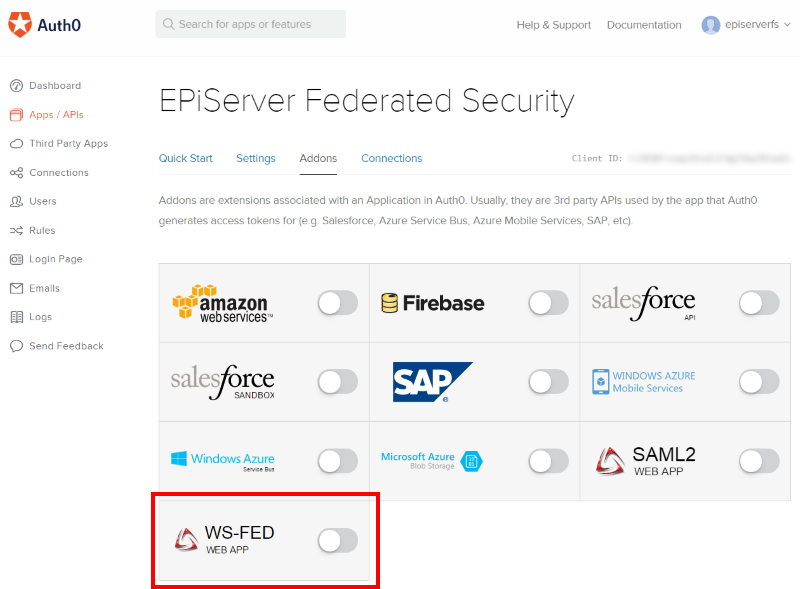
9. Go to the Addons section. Scroll to the bottom of the page and enable WS-FED:
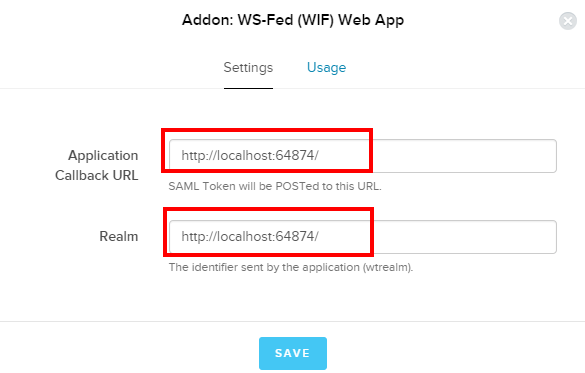
10. In the dialogue paste the root URL of your site (note: as call backs are done client side this will still work on localhost) and the realm as entered in step 2. above:
Now the final step is wire the metadata URL back into EPiServer.
11. Go back to the application Settings scroll to the bottom then click Show Advanced Settings:
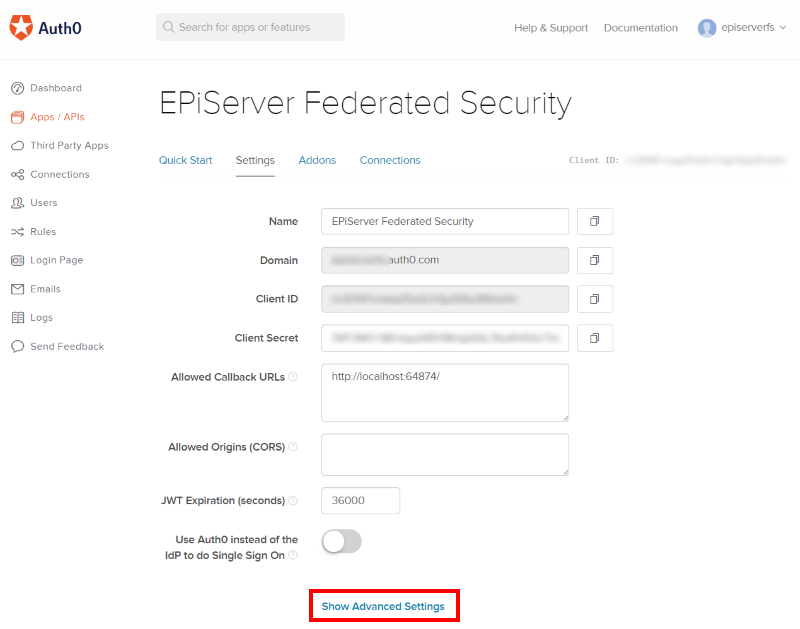
12. Scroll down and look for the Endpoints section, click WF-Federation and copy the WsFederation Metadata URL value:
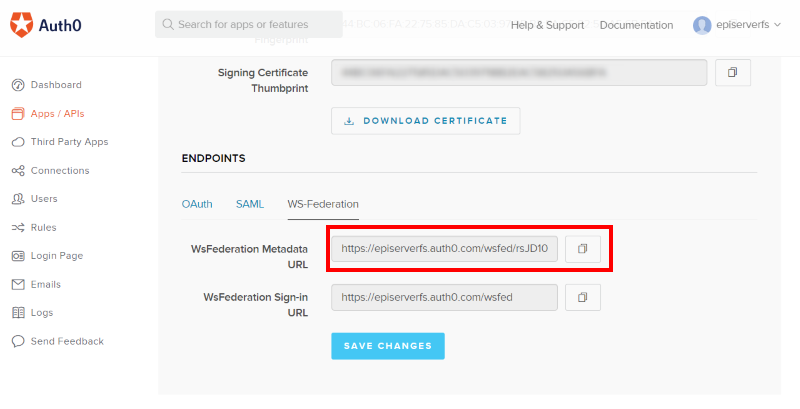
13. Switch back to Visual Studio and paste the WsFederation Metadata URL value copied above into the MetadataAddress value in the Startup.cs file you added n step 1:
(click image for full size view)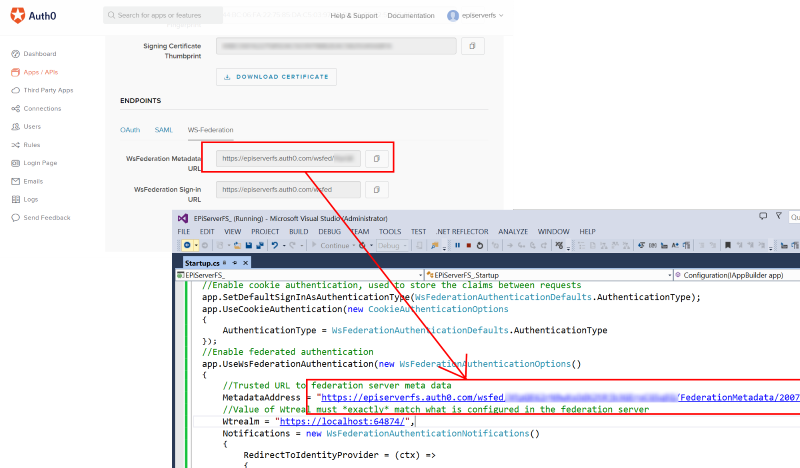
Configuring Auth0 connections
Now your EPiServer site is ready to start federating security with Auth0. However before its possible to start people need a way of logging in so this requires connections to be set up in Auth0.
14. Staying in Auth0 browse to Connections > Social and pick some identity providers. For the purpose of this demo I’m going to add some social connections:
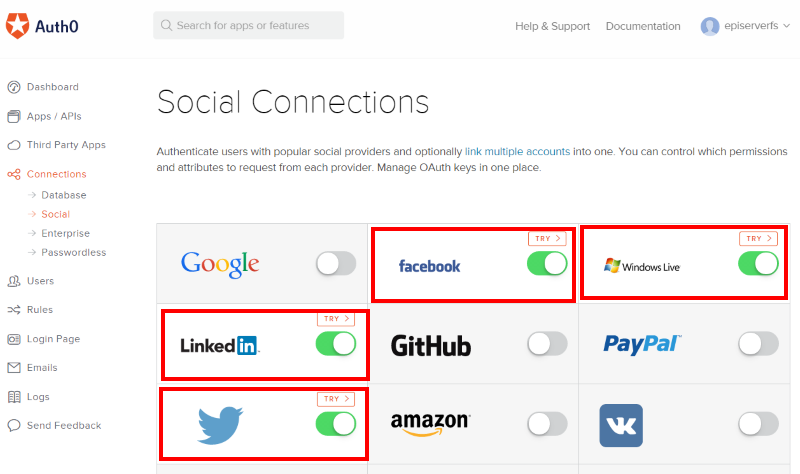
Note: For production use you should configure each provider with your own applications as Auth0 uses developer keys/apis as by default.
Testing it all out
15. Browse to a page that requires a log in. Hopefully you removed the Everyone access rights from the Alloy meet as described in the pre-requisites. If so then clicking the "Read more" button on the homepage will force EPiServer to try and log in the user. Note that when you click the link you are sent to Auth0 to authenticate:
(click image for full size view)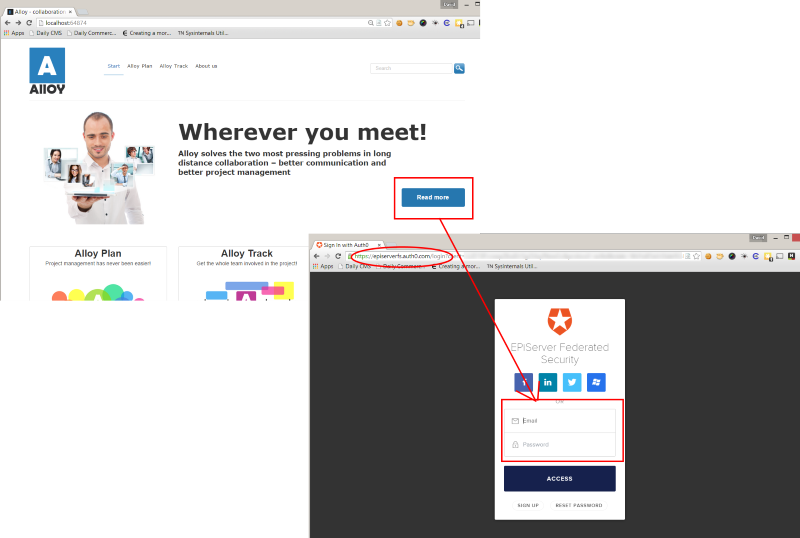
16. Once authenticated users are redirected back to the site and allowed to see the secured page.
Congratulations users can now log into your site using any identity provider thats configured in Auth0!
Part 2 of this post describes how you can allow users to log in to the EPiServer UI with Auth0.